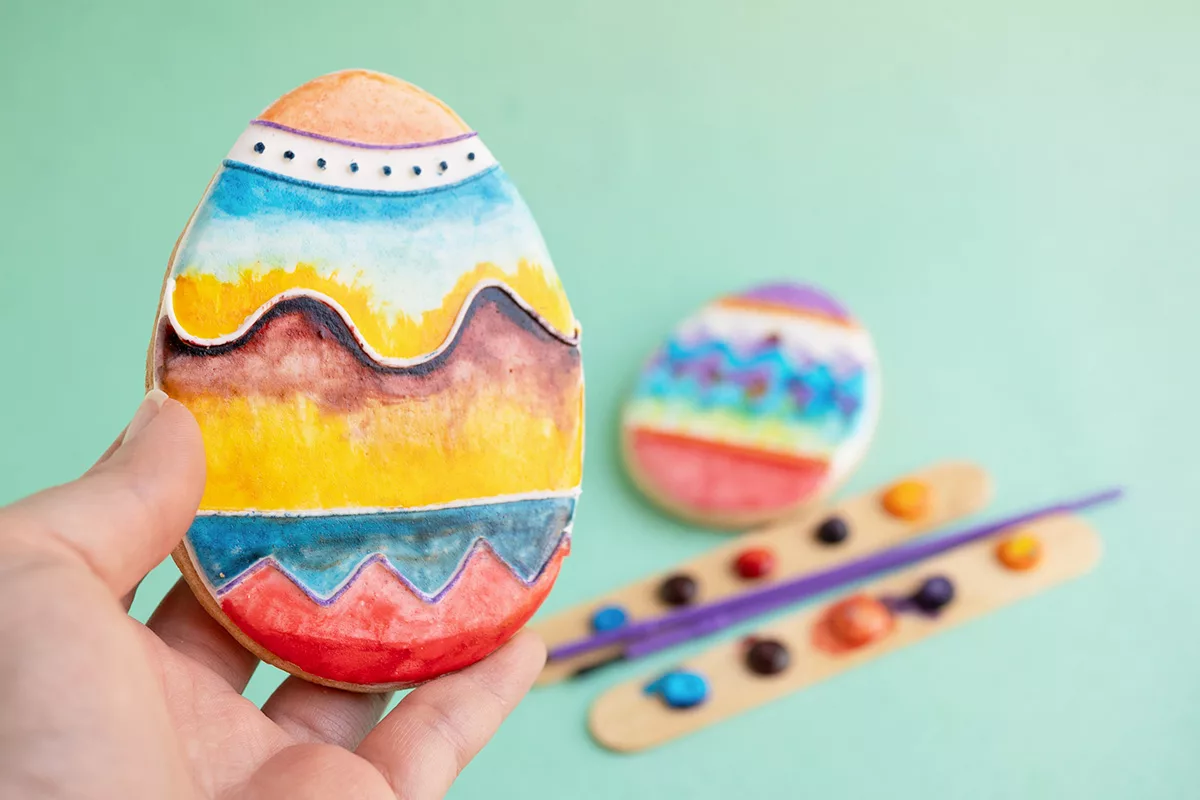
What better way to spring into the season than with a creative cookie project? This Easter, we’re putting a fun twist on traditional egg decorating — not with eggs, but with DIY edible watercolor easter egg cookies! Our recipe is the perfect solution for family-friendly fun. In this simple step-by-step guide, we walk you through the recipe from start to finish, so you can make this year’s Easter celebration unforgettably sweet.
How to Make Edible Watercolor Easter Egg Cookies
This delightful DIY project is the perfect way to celebrate spring and a fun and creative activity to do with friends or little ones. So gather your ingredients and get ready to turn your kitchen into an art studio with these delicious edible watercolor Easter egg cookies!
Sugar Cookie Ingredients:
- 1 pound of butter
- 1 cup of sugar
- 1 zested orange (optional)
- 2 eggs
- 3 cups all-purpose flour
- ½ teaspoon salt
Icing Ingredients:
- 1 pound powdered sugar
- 3 tablespoons meringue powder
- ¼ cup water (may need more or less)
Edible Watercolor Ingredients:
- Food coloring
- Water
1. How to Make the Sugar Cookies
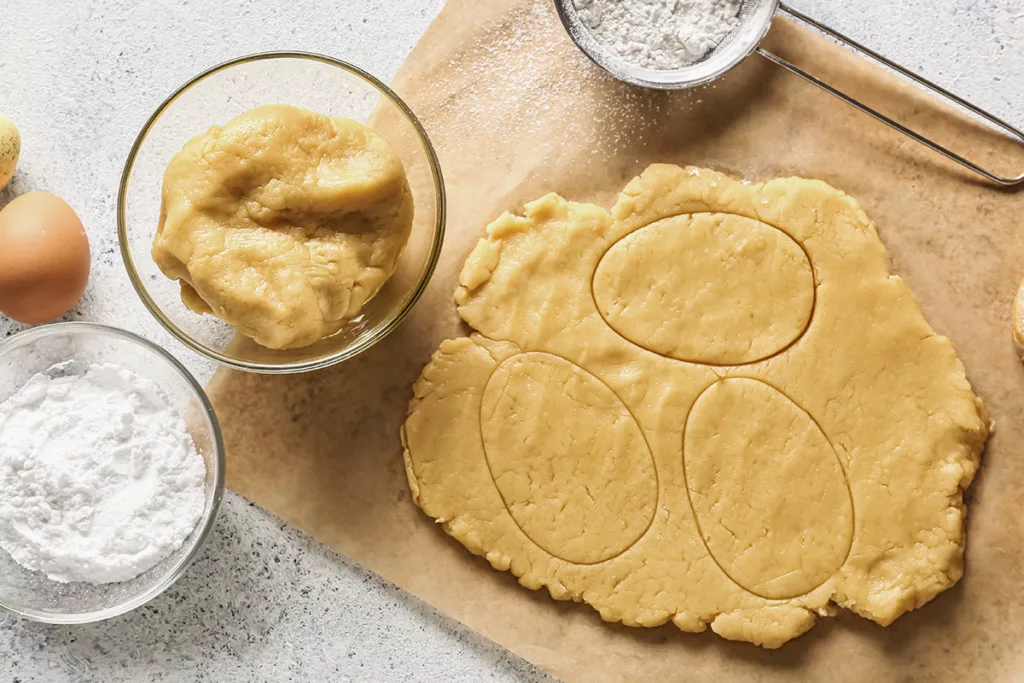
The first step is to bake your sugar cookies that will serve as your canvases for this project. Below is an easy and delicious sugar cookie recipe to get you can follow:
- Use a stand or handheld mixer to cream butter until smooth. Add in orange zest (optional).
- Add in eggs one at a time.
- Gradually add in your dry ingredients and mix until smooth.
- Roll out the dough between sheets of plastic and refrigerate. When cool, cut your cookies into egg shapes, then cool them again in the refrigerator so they hold their shape.
- Bake at 325°F, or until the edges are lightly golden. The time will depend on the size of the cookie.
- Carefully remove your cookies from the oven and allow them to cool completely before decorating.
2. How to Make the Icing
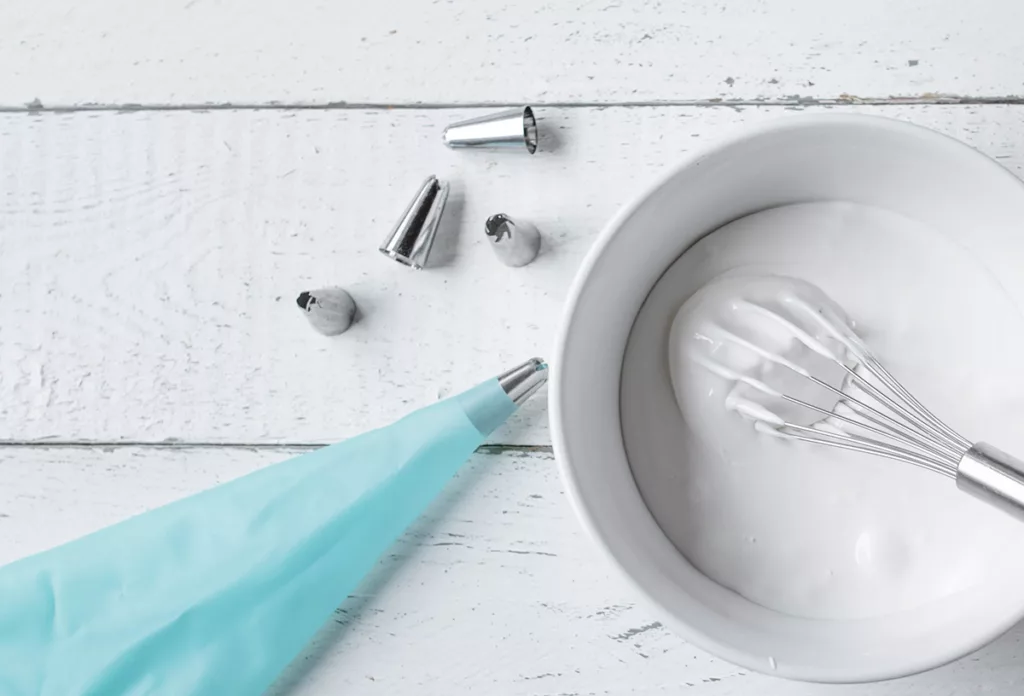
While your cookies are baking, it’s the perfect time to make the icing. This icing will serve as a base for your watercolor paints… and it’s delicious! Here is a simple icing recipe you can use for this project:
- Mix all dry ingredients in a bowl.
- Add water until your desired consistency is reached.
And that’s it! This mixture doesn’t need to be refrigerated, so the icing will be ready to use as soon as your cookies are fully baked and cooled.
3. How to Prepare Your Cookie Canvas
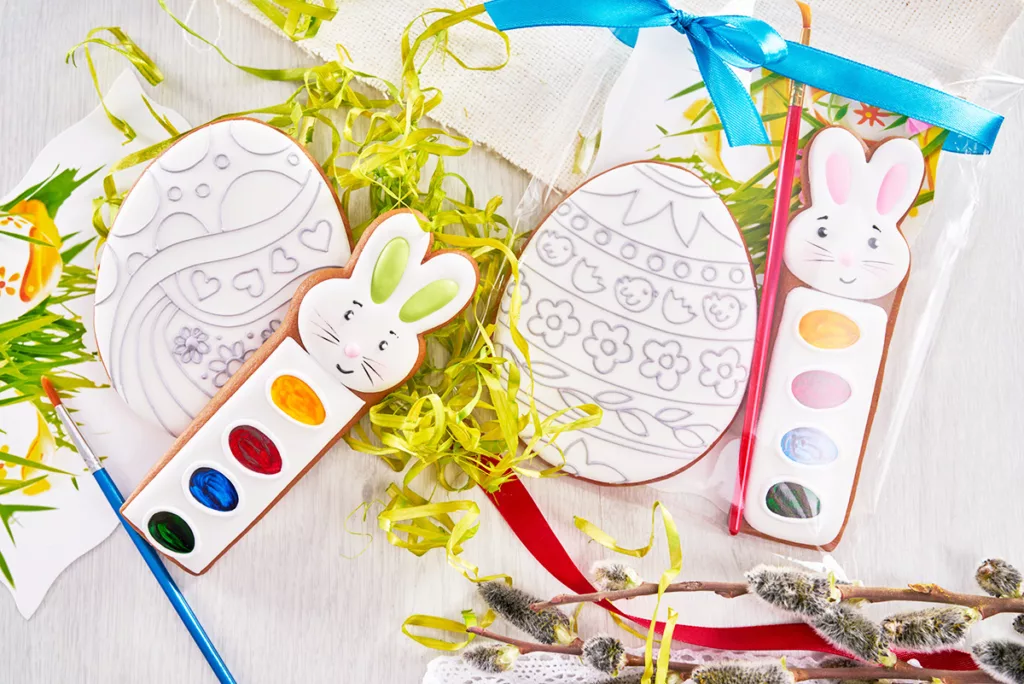
Once your cookies are cooled and your icing is made, the next step is to transform the cookies into ready-to-paint canvases. To get a nice smooth surface to paint on, you’re going to want to melt your icing:
- Microwave the icing for about ten seconds, or until it’s liquid.
- Then, dip the top of each cookie to coat it evenly.
- Let the icing dry completely, for about an hour or so.
This smooth surface will be the backdrop for your edible watercolors.
4. How to Make Edible Watercolors
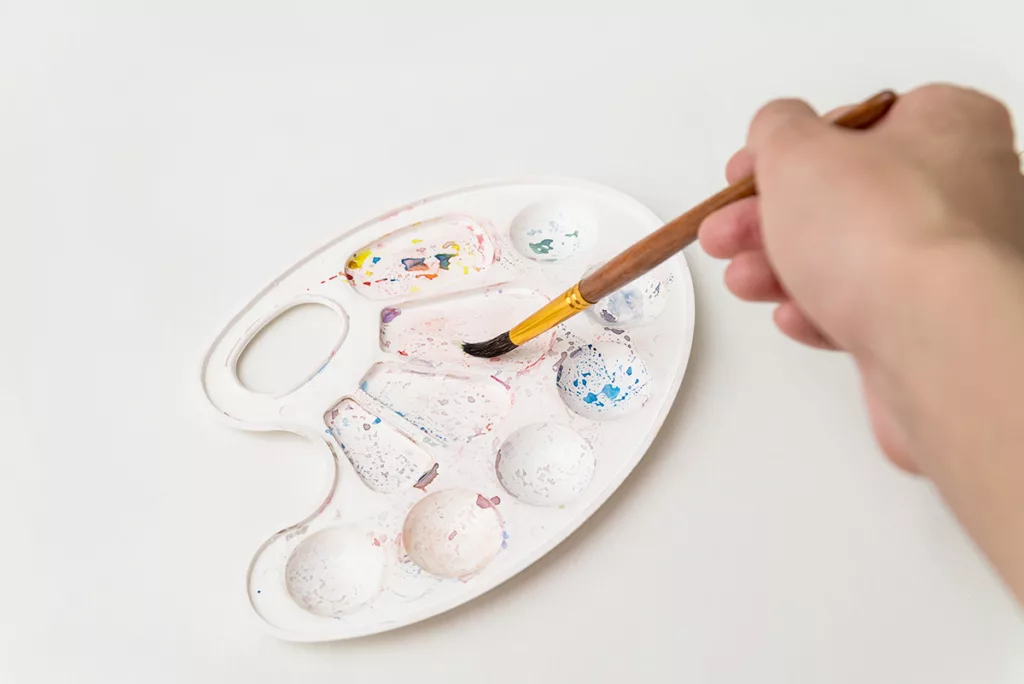
Making your edible watercolors is as simple as combining food coloring with water! We love using India Tree food coloring here at COOKIE… take a bite! because they use natural sources to create vibrant, food-safe colors.
Fill some small dishes with about a teaspoon of water, then add a few drops of food coloring to each one. You’ll want to have one dish per color so things don’t get mixed up. Once all your colors are prepared, now it’s time to paint!
5. Decorate your Easter Egg Cookies

Now that your cookies and editable paints are ready, it’s time to decorate your easter eggs! Using your clean food-safe brushes and your prepared watercolors, you can paint directly onto the cookie icing to decorate them with your favorite spring-themed designs. Here are some ideas to get you started:
- Floral designs: Nothing says spring like flowers! Start by creating a simple dot in the center in one color, and painting petals around it in another color. Feel free to add leaves or any other shapes you desire!
- Chevron pattern: Mimicking the patterns of a cracking egg, chevron is perfect for this DIY project! You can even create a pattern using different colors.
- Polka dots: This simple yet adorable pattern is a great way to add a splash of color to your cookies. Try combining it with a section of stripes for a fun mix!
- Hatching chick: Draw two chevron lines, then and paint the middle section yellow. Leave the bottom two sections white and draw a beak and eyes in the center to illustrate a chick hatching with the top of the egg on its head.
The possibilities are endless, so get creative and have fun with it!
6. Let the Paint Dry and Enjoy!
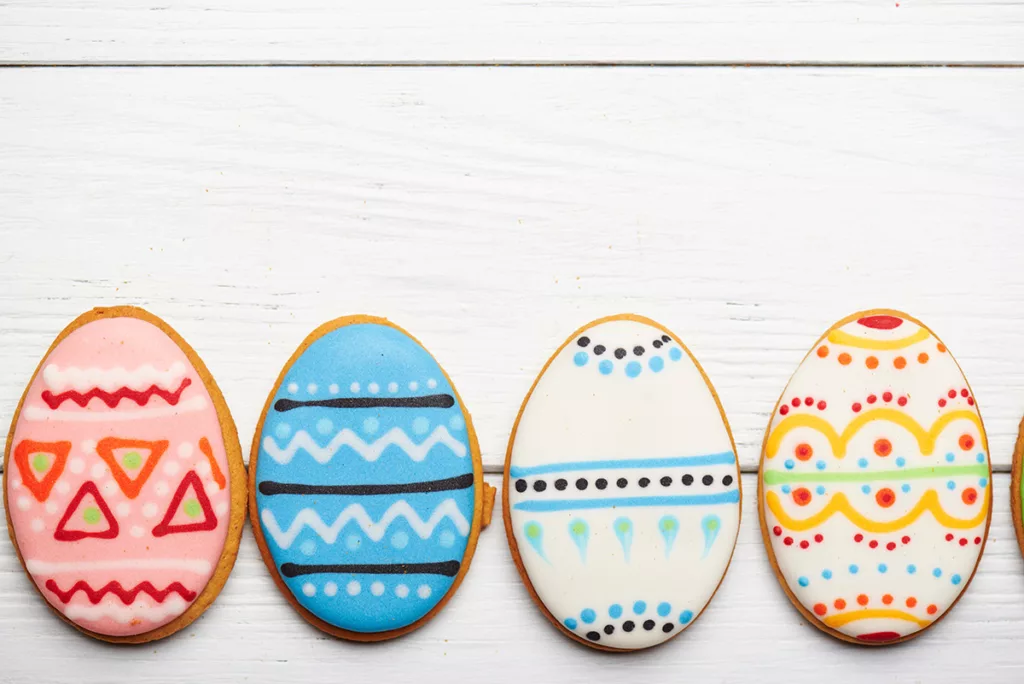
Once your edible masterpieces are complete, simply set them aside until the paint is completely set. After they’re dry, your easter eggs are ready to be enjoyed! These are perfect for sharing with the family or gifting to friends to get into the spirit of spring.
Find Delicious Gourmet Cookies at COOKIE… Take a Bite!
Ready to make this year’s Easter celebration the best one yet? There’s no better way to do that than with cookies! Our gourmet cookies are made from organic and locally sourced ingredients whenever possible, so you can feel good about indulging in something so delicious.
Shop our cookie tins online, or swing by our Santa Rosa cookie counter to browse our award-winning flavors in person today!
